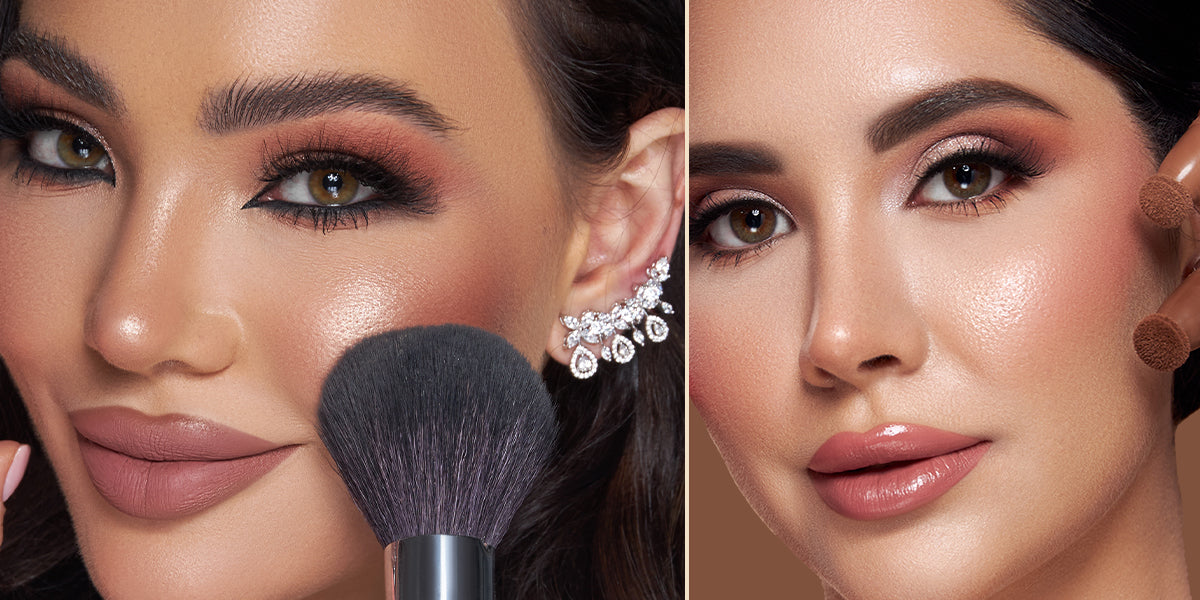
Ever had those mornings when your dark circles seem to steal the spotlight? Whether from a late night, a hectic week, or genetics, dark circles can be tough. They can give you an appearance of tiredness, stress, and age beyond your years. But don’t worry - you don’t need hours or expensive treatments to hide them.
In fact, with the right tricks, you can easily learn how to cover dark circles with makeup in just 5 minutes. Yes, it’s that simple! You don’t need to be a makeup pro to get the perfect coverage. In this blog, you can explore how to quickly and effortlessly turn those tired eyes into a refreshed, bright look.
Step-by-Step Guide: How to Cover Dark Circles in Under 5 Minutes

Step 1: Prep the Skin
Before you start covering dark circles, it’s important to prep the skin around your eyes. Dry, tired skin can make your dark circles more noticeable, so hydration is key.
Start by applying a hydrating eye cream or gel to smoothen the area. This will help reduce puffiness and create a smooth base for your makeup, ensuring it blends seamlessly and lasts longer. Look for an eye cream with ingredients like hyaluronic acid or caffeine, which can help brighten and tighten the skin.
Step 2: Apply a Color Corrector
The key to covering dark circles effectively is neutralizing the blue or purple undertones that cause dark circles. This is where a color corrector can be useful.
If you have deeper dark circles, choose a peach or orange-toned corrector, as these shades cancel out the blue or purple hues. For lighter skin tones, a peach or pinkish corrector will work best. Using your ring finger or a brush, lightly dab the corrector on the dark circles, focusing on the inner corners where they’re most prominent. Blend it gently into the skin, ensuring the color doesn’t stand out but neutralizes the dark spots.
Step 3: Conceal the Area
Now that you’ve neutralized the darkness, it’s time to conceal. Select a concealer that is one shade lighter than your natural skin tone. The lighter shade will help brighten the under-eye area and create a refreshed, awake look.
Apply the concealer in an inverted triangle under your eyes, extending towards your cheekbones. This shape covers dark circles and lifts and brightens the entire eye area. Use a damp makeup sponge or fingers to blend the concealer into your skin. Blend well to avoid harsh lines and create a smooth finish.
Step 4: Set with Powder
Set your concealer with a light translucent or banana powder dusting to lock everything in place and prevent creasing. This helps absorb any excess moisture and ensures your concealer stays in place throughout the day.
Use a fluffy brush to apply the powder lightly, focusing on the under-eye area. Avoid over-powdering; too much can make the area look cakey and highlight fine lines. A light touch will keep everything fresh and natural.
Step 5: Add a Finishing Touch
For an added glow, apply a touch of highlighter or luminous powder to the inner corners of your eyes and the top of your cheekbones. This will brighten the under-eye area and give your face a refreshed, dewy look.
Applying a small amount of highlighter on your brow bone can enhance the appearance of your eyes, making them look bigger and more alert.
Essential Tools and Products
Using the right tools and products is crucial to achieve flawless coverage of dark circles. Here’s a quick rundown of what you’ll need for your 5-minute makeup routine:
Color Corrector
A color corrector is a must-have for neutralizing dark circles before concealing them. Choose one that matches your skin tone’s undertones: peach or orange for deeper circles and peach or pink for lighter skin tones. This step ensures you’re canceling out the dark pigments, setting the stage for the concealer to work its magic.
Concealer
Using a concealer that is slightly lighter than your natural skin tone - about one or two shades can effectively conceal dark circles. Opt for a creamy, full-coverage concealer for long-lasting results. If you prefer a natural finish, choose a lightweight, buildable formula. The concealer will brighten your under-eye area, making you look awake and refreshed.
Setting Powder
Translucent or banana powder is essential to set your concealer and prevent it from creasing or fading. Opt for a finely ground powder to prevent a cakey appearance. It will keep your makeup in place throughout the day and ensure a smooth, matte look without making the area look dry.
Sponges or Brushes
A makeup sponge (preferably damp) seamlessly blends your concealer and color corrector. The sponge will ensure that you don’t disturb the layers beneath while giving a smooth finish. Choose a soft, fluffy brush for gentle blending if you prefer a brush. Both tools will help create a flawless finish, but a sponge usually gives a more natural, airbrushed look.
Pro Tips for Perfect Coverage
Now that you know the basics of how to cover dark circles with makeup, here are some pro tips to enhance your technique and achieve flawless, long-lasting results:
Use Multitasking Products
Save time by picking a concealer with built-in color correction (peach or orange). It will quickly neutralize dark circles, so you can skip extra steps and get full coverage.
Opt for Lightweight Formulas
If you aim for natural, breathable coverage, always use lightweight formulas. A thick concealer can look heavy and cake up, especially under the delicate skin of your eyes. Look for a lightweight concealer that provides full coverage without feeling too thick.
Blend, Blend, Blend
Blending is essential for a natural, seamless look. Remember that harsh lines can make your concealer look obvious when learning how to cover dark circles. Use a damp makeup sponge to blend the concealer into your skin gently. This helps press the product in for a smooth, airbrushed finish.
Don’t Forget to Hydrate
Apply hydrating eye cream before concealing. It helps prep the skin, prevents dryness, and keeps your concealer from settling into fine lines.
Set with a Light Hand
Avoid over-powdering! Use a fluffy brush to lightly dust translucent powder on your under-eyes to set your makeup without making it cakey.
Mistakes to Avoid
When learning how to conceal dark circles with makeup, a few common mistakes can ruin your look. Here’s what to avoid:- Skipping Skin Prep: Not moisturizing or priming your skin before applying makeup can lead to patchy or uneven coverage. Always hydrate your under-eye area with an eye cream for smooth application.
- Using the Wrong Shade: Choosing a concealer or color corrector that’s too light or dark for your skin tone can make your dark circles stand out even more. Choose the right shade to neutralize the darkness and match your skin tone.
- Overloading on Concealer: Too much concealer can make your under-eye area look cakey and unnatural. A little goes a long way. Apply a thin layer and blend thoroughly to avoid a heavy finish.
- Applying Too Much Powder: While powder helps set your makeup, applying too much can make your under-eye area look dry and cracked. To avoid this, set your concealer with a light dusting of translucent powder.
Final Thoughts
Mastering how to cover dark circles with makeup in under 5 minutes is easier than you think. With the right techniques and tools, you can quickly achieve a refreshed and flawless look without spending too much time. Whether preparing for a busy day or a special occasion, this simple routine will help you hide dark circles effortlessly and boost your confidence.Consider trying Daily Life Forever52 cosmetics if you're looking for the finest cosmetic products with lasting coverage. Their range of products is known for its smooth texture and full coverage, perfect for achieving a seamless look. With the right products from Forever52 Cosmetics, you can enhance your makeup routine and enjoy a natural, fresh appearance all day. So try these techniques and discover how simple it can be to look awake and vibrant in just a few minutes!


