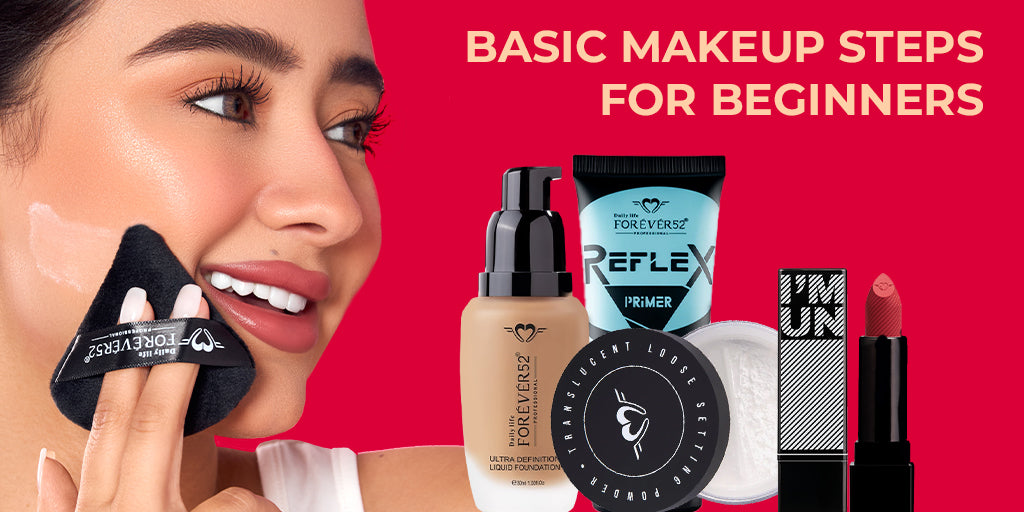
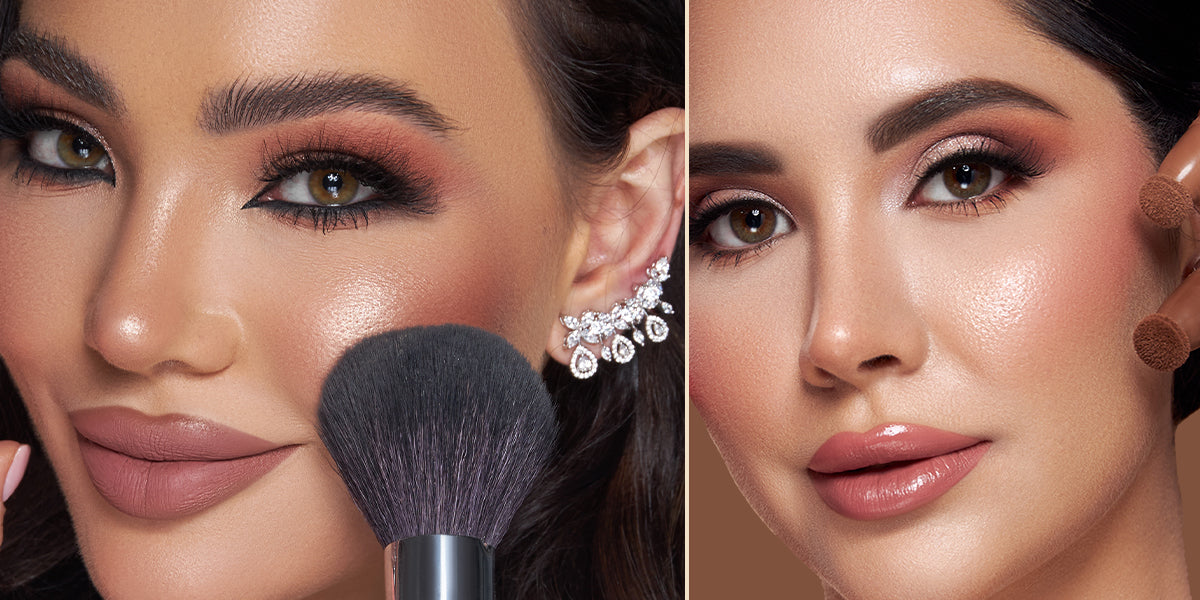
Makeup is not just about applying products to your face; it's about enhancing your features, expressing yourself, and feeling confident. Creating a smooth and long-lasting makeup base may seem overwhelming for beginners, but with the right guidance, it’s achievable! Basic makeup steps are simple to follow, and once you get the hang of them, applying makeup will become second nature.
This blog breaks down the makeup steps for beginners, ensuring you can follow along easily to achieve a flawless look. Whether prepping for a casual outing or a special event, these makeup for beginners tips will help you start your makeup routine correctly.
Essential Basic Steps of Makeup for Beginners

Step 1: Cleanse and Moisturize
Every makeup routine should begin with a clean, well-moisturized face. Cleansing your skin helps remove impurities and any residual makeup, which can help avoid clogged pores and reduce the chances of breakouts. A clean face also allows makeup to go on more smoothly.
Once you’ve cleansed, apply a moisturizer suited to your skin type. No matter, if your skin type is dry, oily, or a mix of both, using a moisturizer is crucial for achieving a smooth, even complexion. Moisturizing also ensures that your makeup adheres better and lasts longer.
Step 2: Apply Primer
Primer plays an essential role in a basic makeup routine. It is a base, prepping your skin for foundation and other makeup products. The right face primer helps smooth out the skin’s texture, reducing the appearance of pores and fine lines. It also ensures that makeup remains unchanged all day long.
Choose a primer that matches your skin type. A mattifying primer is best for oily skin, while a hydrating primer locks in moisture for dry skin. Apply the primer with your fingertips or a brush for an even finish.
Step 3: Choose Foundation for Coverage
The following step is to apply foundation, as it sets the base for the rest of your makeup. The foundation helps even out your skin tone and gives your face a flawless appearance.
When choosing a foundation, ensuring it corresponds with your skin tone is important. Apply it to your jawline or neck to determine the most suitable shade. Various types of foundations are available, such as liquid, cream, and powder. Liquid foundations are great for full coverage, while powder foundations are ideal for a lightweight finish. Choose one that works for your skin type and coverage preferences.
Step 4: Conceal Imperfections with Concealer
Now that your foundation is applied, it’s time to use a concealer to cover imperfections. Whether it's blemishes, dark circles, or redness, concealer helps to target specific spots that need extra coverage.
Apply a small concealer to the affected areas and blend gently using your fingers, a brush, or a makeup sponge. You can also use concealer to brighten the under-eye area, making you look more awake and refreshed.
Step 5: Set with Powder
Setting powder is essential for locking in your foundation and reducing excess shine. It also helps to set your concealer and foundation, ensuring your makeup stays in place all day. Applying a setting powder is especially important for those with oily skin, as it controls shine and keeps everything matte.
Lightly dust the powder over your face using a fluffy brush, focusing on the T-zone (forehead, nose, chin), which tends to get oily throughout the day.
Step 6: Add Dimension with Bronzer
Bronzer is a great way to warm up your complexion and add dimension to your face. You can use bronzer to sculpt and give yourself a more defined look.
Using a bronzer brush, apply bronzer to the hollows of your cheeks, along your jawline, and around the sides of your forehead. This will help sculpt your face and give it a more defined, healthy look.
Step 7: Apply Blush for a Healthy Glow
Blush brings vibrancy and warmth to your complexion, providing a fresh and radiant appearance. Blush can make you look more awake and vibrant, especially when working with neutral or matte foundations.
Select a blush color that enhances your skin tone. Peach shades work well for fair skin, while deeper pinks and berries suit medium to dark skin tones. Gently smile and apply blush to the apples of your cheeks, then blend it outward toward your temples to create a lifted and youthful appearance.
Step 8: Highlight to Enhance the Glow
To complete your glowing makeup look, apply a highlighter to the high points of your face. Highlighter draws attention to areas where light naturally hits, creating a radiant, dewy finish.
Enhance your features by applying a powder or cream highlighter to your cheekbones, the bridge of your nose, your brow bone, and the cupid’s bow. These areas will catch the light and add a luminous finish to your makeup.
Step 9: Apply Eyeshadow
Now, it’s time to enhance your eyes with eyeshadow. Eyeshadow is an excellent way to highlight and amplify your eyes. For beginners, use neutral shades to create a simple, wearable look. Once you're comfortable with the basics, you can always experiment with brighter, bolder colors.
Start with a light shade all over the eyelids, then use a medium shade in the crease of your eyelids to add depth. Finally, apply a dark shade at the outer corners to define the eyes further. Make sure to mix the colors smoothly to eliminate any harsh lines.
Step 10: Line with Eyeliner
Eyeliner enhances your eyes, highlighting them beautifully. Whether you prefer a soft look with pencil eyeliner or a bolder, sharper line with liquid eyeliner, this step adds drama to your eyes.
Apply eyeliner along your upper lash line, and for a more dramatic look, you can add it to your lower lash line as well. You can also wing out the eyeliner for a cat-eye effect, which is great for special occasions.
Step 11: Apply Mascara
Mascara is a must-have for face makeup steps; it makes your lashes look longer and fuller. Choose a mascara that gives you the volume and length you desire.
Begin by placing the mascara at the roots of your lashes and then brush it upwards toward the tips. Use a zig-zag motion to ensure the product is evenly distributed, and don’t forget to coat the lower lashes for a balanced look. To achieve additional volume, put on a second layer of mascara.
Step 12: Add Lip Gloss
The last step in your face makeup steps is to apply lip gloss. Lip gloss provides a glossy sheen that enhances the appearance of your lips, giving them a fuller and more moisturized look.
You can choose a clear gloss for a subtle, natural appearance or a tinted gloss for a vibrant splash of color. Apply it directly to your lips, and enjoy the smooth, shiny finish. If you prefer a matte lip look, apply lipstick or a lip stain instead.
Step 13: Set Everything with Setting Spray
Use a setting spray to lock everything in place to ensure your makeup lasts all day. Setting sprays helps maintain your makeup's integrity, minimize shine, and keep your look fresh for hours.
Hold the makeup setting spray approximately an arm's length from your face, and gently spritz it over your skin in an X and T pattern. Let it dry naturally to set your makeup and keep it looking flawless.
Final Thoughts
Following the basic makeup steps and understanding the essentials of each product will help you enhance your natural beauty and effortlessly create stunning looks. You'll build confidence in your abilities through practice and experimentation and uncover your distinctive makeup style.If you want to discover high-quality makeup, Daily Life Forever52 has a diverse selection that includes everything from foundations and concealers to bold lip colors and essential eye makeup. Their range is ideal for beginners and makeup lovers, ensuring flawless results with every use. Explore their offerings and enhance your beauty routine today.
Remember, makeup is all about experimentation and fun. Don’t hesitate to try new products, techniques, and colors to create your signature style. With the right products and practice, you’ll create stunning simple makeup looks every day.


